Starting a website may sound complicated, especially if you are creating one for the first time. You may have already purchased a domain name and hosting plan, but the next question is: how do you actually get your website online?
The good news is that installing WordPress is much easier than many beginners expect. You do not need advanced programming knowledge or experience with website development. With a suitable hosting account, you can install WordPress in just a few minutes and start building your website.
WordPress is one of the most popular website-building platforms because it offers flexibility, thousands of themes and plugins, and an easy-to-use dashboard. Whether you want to create a business website, blog, portfolio, or online store, WordPress gives you the tools to get started.
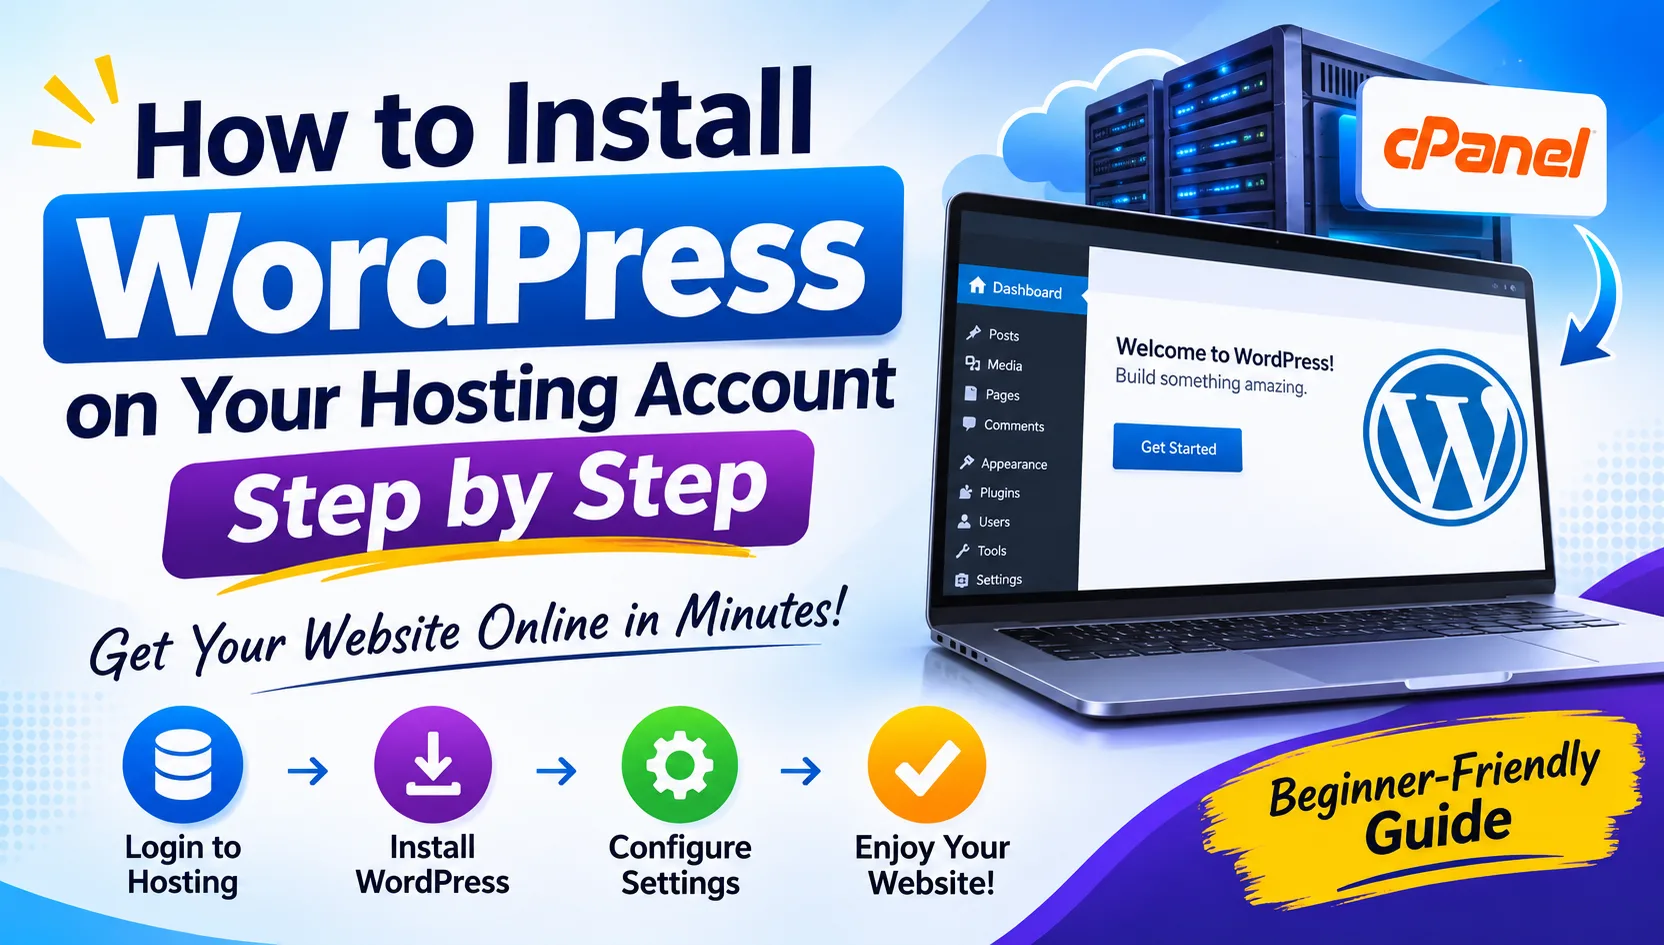
In this guide, we will explain how to install WordPress on your hosting account step by step, including automatic installation through cPanel, manual installation, basic configuration, and common installation problems.
What Do You Need Before Installing WordPress?
Before starting the installation process, make sure you have the following things ready:
Domain Name: Your website address, such as example.com.
Web Hosting Account: A hosting service where your website files and database will be stored.
SSL Certificate: An SSL certificate helps secure your website through HTTPS.
Hosting Login Details: Your cPanel or hosting control panel username and password.
Internet Connection: A stable connection to complete the installation.
Your hosting provider should also support the current WordPress technical requirements, including a compatible PHP version, MySQL or MariaDB database, and HTTPS support.
Once these essentials are ready, you can move to the installation process.
Step 1: Log In to Your Hosting Account
First, open the website of your hosting provider and log in to your customer account.
After logging in:
Open your active hosting services.
Select the hosting plan connected to your domain.
Find the cPanel or hosting control panel login option.
Open your hosting control panel.
If your hosting provider uses a custom dashboard instead of cPanel, the available options may look slightly different.
Inside the control panel, you will find several tools for managing your website, email accounts, databases, files, and security settings.
Step 2: Connect Your Domain Name to Hosting
Before installing WordPress, your domain should point to the correct hosting server.
If you purchased your domain and hosting from the same provider, this connection may already be configured.
If you purchased them separately, follow these steps:
Log in to your domain registrar.
Open the DNS or Nameserver settings.
Replace the existing nameservers with the nameservers provided by your hosting company.
Save the changes.
Allow time for DNS propagation.
DNS updates can sometimes take several hours and, in certain cases, up to 24–48 hours.
Once your domain is correctly connected, you can access your hosting account using your domain name.
Step 3: Open the WordPress Installer in cPanel
Most modern cPanel hosting providers offer an automatic WordPress installation facility.
Depending on your hosting provider, you may find an installer such as Softaculous or another WordPress management tool.
To locate it:
Open cPanel.
Scroll down to the Software section.
Look for Softaculous Apps Installer or WordPress Manager.
Select WordPress.
Click the Install option.
The exact interface may vary depending on your hosting environment.
Automatic installation is generally the easiest option for beginners because it handles the database creation and WordPress file setup for you.
Step 4: Configure Your WordPress Installation
After clicking Install, you will see a configuration form.
Pay attention to the following settings:
1. Choose Protocol
Select HTTPS if your SSL certificate is already active.
For example:
https://
2. Choose Domain
Select the domain where you want to install WordPress.
3. In Directory
Leave this field empty if you want WordPress installed directly on your main domain.
For example, an empty directory installs WordPress at:
If you enter blog, WordPress will instead be installed at:
4. Website Name
Enter your website title.
Example: My Business Website.
5. Website Description
Write a short description explaining what your website offers.
6. Admin Username
Choose a unique username. Avoid using predictable usernames such as admin.
7. Admin Password
Create a strong password containing uppercase letters, lowercase letters, numbers, and special characters.
8. Admin Email
Enter an email address that you can access. WordPress will use it for important notifications and account-related communication.
Review all the information before continuing.
Step 5: Complete the WordPress Installation
Once you have configured all the required settings:
Scroll down to the bottom of the installer.
Review the installation details.
Click the Install button.
Wait while the hosting installer creates the database and uploads the WordPress files.
Allow the installation process to finish.
After successful installation, you should see a confirmation message along with two important links.
Website URL: https://example.com
WordPress Admin URL: https://example.com/wp-admin
Congratulations! WordPress is now installed on your hosting account.
Step 6: Log In to Your WordPress Dashboard
Open your WordPress admin URL in a browser.
For most installations, the login address will look like this:
Enter the administrator username and password you created during installation.
After logging in, you will reach the WordPress dashboard.
From this dashboard, you can manage almost everything related to your website, including:
Website pages and blog posts
Themes and website design
Plugins and additional functionality
Media files and images
User accounts and permissions
Website settings and SEO configuration
Take some time to explore the dashboard before making major changes.
Step 7: Install a WordPress Theme
A theme controls the appearance and layout of your WordPress website.
To install a theme:
Open Appearance from the WordPress dashboard.
Select Themes.
Click Add New Theme.
Search for a suitable theme.
Click Install.
Select Activate.
Choose a responsive theme that works properly on desktop, tablets, and mobile devices.
If you are creating a business website, look for a professional design with clear navigation, readable content, and fast loading performance.
You can also upload a premium theme purchased from a trusted marketplace.
Step 8: Install Essential WordPress Plugins
Plugins allow you to add extra features to your website without writing code.
For beginners, some useful plugin categories include:
| Plugin Category | Purpose |
|---|---|
| SEO Plugin | Helps manage titles, descriptions, and SEO settings |
| Security Plugin | Adds website security features |
| Backup Plugin | Helps create website backups |
| Cache Plugin | Improves website loading performance |
| Contact Form Plugin | Allows visitors to contact your business |
| Image Optimisation | Reduces image file sizes |
Install only the plugins you actually need. Too many unnecessary plugins can increase maintenance requirements and sometimes affect website performance.
Always download plugins from trusted sources and keep them updated.
Step 9: Enable SSL and Configure HTTPS
Website security should be one of your first priorities after installation.
An SSL certificate enables encrypted communication between your website and its visitors.
If your hosting plan includes free SSL:
Open your hosting control panel.
Find the SSL/TLS or SSL management section.
Check whether the certificate is installed and active.
Enable HTTPS for your domain.
Verify that your website opens using https://.
You should also ensure that WordPress uses HTTPS under Settings > General for both the WordPress Address and Site Address.
Avoid changing these settings until HTTPS is working correctly.
Step 10: Configure Basic WordPress Settings
Before publishing your first page or blog post, configure a few important settings.
Set Your Website Timezone
Go to Settings > General and select your preferred timezone.
For an Indian website, choose Kolkata (UTC+5:30).
Configure Permalinks
Go to Settings > Permalinks and select Post name.
This creates cleaner website URLs, such as:
https://example.com/how-to-create-a-website/
Set Your Homepage
Go to Settings > Reading and choose whether your homepage should display your latest posts or a static page.
Delete Unnecessary Content
Remove sample posts, unused themes, unnecessary plugins, and default content that you do not need.
These small changes help prepare your website for visitors.
Alternative Method: How to Install WordPress Manually
If your hosting provider does not offer an automatic installer, you can install WordPress manually.
This method requires a few additional steps but gives you more control over the installation process.
1. Download WordPress
Visit the official WordPress website and download the latest stable WordPress package.
Official website: https://wordpress.org/download/
Extract the downloaded ZIP file on your computer.
2. Upload WordPress Files to Your Hosting
Log in to cPanel and open File Manager.
Navigate to the public_html directory if you want WordPress installed on your primary domain.
Upload the WordPress ZIP file and extract it.
If the extracted files are inside an additional wordpress folder, move the WordPress files and folders directly into public_html when installing on the main domain.
3. Create a MySQL Database
Open MySQL Database Wizard in cPanel.
Follow these steps:
Enter a database name.
Create a database user.
Generate a strong database password.
Assign the user to the database.
Grant the required privileges, typically ALL PRIVILEGES for the WordPress database user.
Save your database name, username, and password securely.
4. Configure the WordPress Database
Open your website in a browser.
The WordPress installation wizard should appear.
Select your language and enter the database information:
Database Name
Database Username
Database Password
Database Host (usually localhost, but confirm with your hosting provider)
Table Prefix
Click Submit and continue with the installation.
5. Complete the Setup
Enter your website title, administrator username, password, and email address.
Click Install WordPress.
Once the process finishes, log in to your WordPress dashboard.
Your website is now ready for customisation.
Common WordPress Installation Problems and Their Solutions
Sometimes WordPress installation does not go as expected. Here are a few common problems and ways to resolve them.
1. Error Establishing a Database Connection
This usually happens when the database name, username, password, or host is incorrect.
Solution: Check your database credentials in the hosting control panel and verify the settings in your wp-config.php file.
2. Domain Not Opening After Installation
Your domain may not be pointing to the correct hosting server yet.
Solution: Verify your nameservers and DNS records. Allow sufficient time for propagation.
3. WordPress Showing a 403 or 404 Error
This can happen because of incorrect file permissions, document root settings, or rewrite configuration.
Solution: Check the domain's document root, file permissions, and .htaccess configuration.
4. SSL Certificate Not Working
Your SSL certificate may not have been issued or installed correctly.
Solution: Check the SSL status in your hosting panel and contact your hosting provider if the certificate is not active.
5. WordPress Installation Failed
An installer may fail because of insufficient hosting resources, an existing installation, or file permission restrictions.
Solution: Check the installation logs, available disk space, PHP compatibility, and existing website files before trying again.
What Should You Do After Installing WordPress?
Installing WordPress is only the beginning. A few additional steps can make your website more secure, useful, and ready for visitors.
Here is a quick checklist:
Configure your website logo and branding.
Create essential pages such as Home, About Us, Services, and Contact.
Add a Privacy Policy and other relevant legal pages.
Configure your SEO plugin.
Submit your sitemap to Google Search Console.
Connect Google Analytics if required.
Set up regular website backups.
Enable appropriate security protections.
Optimise images and website performance.
Test your website on mobile devices.
Publish useful and original content.
Taking care of these tasks early can save time and prevent common website management problems later.
Choosing the Right Hosting for Your WordPress Website
Your hosting environment plays an important role in website speed, security, and reliability.
When selecting a WordPress hosting plan, consider the following factors:
SSD or NVMe Storage: Fast storage helps improve website file access and overall server responsiveness.
Reliable Uptime: Choose a hosting provider with a dependable infrastructure and transparent uptime information.
Free SSL Certificate: SSL protection should be available for your domain.
Regular Backups: Backup facilities help protect your website data.
Latest PHP Support: Your hosting environment should support currently recommended WordPress-compatible PHP versions.
Technical Support: Responsive hosting support can help resolve installation and server-related issues.
If you are just starting, shared hosting can be a practical and affordable choice. As your website traffic and resource requirements grow, you can consider upgrading to VPS or managed hosting.
At Bindass Host, you can explore hosting solutions designed for different website requirements. Choose a plan based on your website's expected traffic, storage needs, and future growth.
Visit: https://www.bindasshost.com/
Frequently Asked Questions (FAQs)
1. Can I install WordPress without technical knowledge?
Yes. Most hosting providers offer automatic WordPress installation through cPanel or a similar control panel. You can complete the process without programming knowledge.
2. How long does it take to install WordPress?
An automatic WordPress installation usually takes around 2–5 minutes, depending on the hosting environment and installer.
3. Is WordPress free to install?
Yes. WordPress is open-source software and can be downloaded and installed for free. However, you will need a domain name and web hosting account.
4. Can I install WordPress on shared hosting?
Yes. WordPress works on compatible shared hosting plans. It is a suitable starting point for blogs, personal websites, and many small business websites.
5. Where can I find my WordPress login URL?
You can usually access your WordPress dashboard by visiting your domain followed by /wp-admin.
Example: https://example.com/wp-admin
6. Do I need cPanel to install WordPress?
No. cPanel is not compulsory. You can install WordPress through other hosting control panels or manually by uploading files and creating a database.
7. Can I install WordPress on an existing domain?
Yes. You can install WordPress on an existing domain, provided it points to a compatible hosting account and the installation directory is correctly configured.
8. Which hosting is best for a WordPress website?
The right hosting depends on your website size, traffic, performance requirements, and budget. Shared hosting is suitable for many beginners, while VPS and managed hosting can offer more resources and management options.
Final Thoughts
Installing WordPress on your hosting account is a straightforward process when you follow the correct steps. Whether you choose an automatic installation through cPanel or prefer the manual method, you can have your website running without advanced technical skills.
Once WordPress is installed, focus on choosing a suitable theme, adding essential plugins, configuring security, and publishing helpful content.
Most importantly, select a hosting provider that offers reliable infrastructure, sufficient resources, SSL support, and responsive technical assistance.
Ready to launch your website? Explore suitable hosting plans at Bindass Host and take the first step towards building your online presence.
Website: https://www.bindasshost.com/
Need help choosing a plan?
Our team will recommend the right hosting for your site — no jargon, no pressure.